
Planting
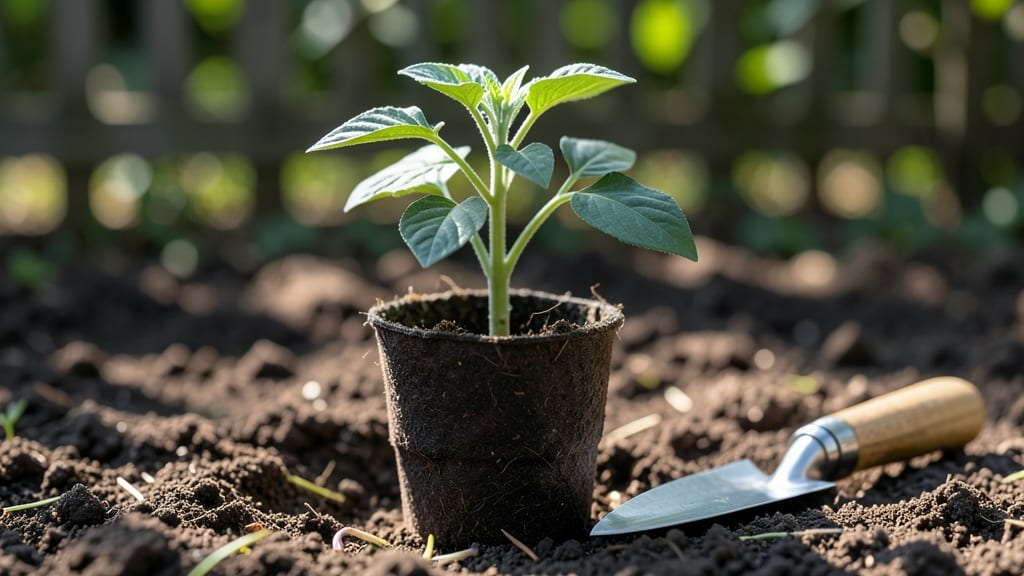
Your pepper seedlings should be 3-4 inches tall with 4-6 true leaves before transplanting — that’s the sweet spot for strong roots and fast establishment.
Transplanting too early or too late can mean the difference between a thriving garden and wasted effort—so knowing the exact size and readiness cues is critical for success.
Peppers 🌶️ are finicky about timing, and rushing them leads to stunted growth or shock. But if you wait too long, they’ll outgrow their pots and struggle to adapt. The key is watching for thick stems, dark green leaves, and a root system that’s ready to spread.
Below, I’ll break down the exact size to look for, how to harden off seedlings, and the best practices for transplanting so your peppers take off in the garden.
Pepper seedling size requirements: 4-6 true leaves & stem strength checklist
Transplanting pepper seedlings at the right size ensures strong root development and rapid establishment in your garden. The ideal pepper seedling size for transplanting typically features 4-6 true leaves—not including the initial seed leaves—and a thick, sturdy stem that can support future growth.
Seedlings this size have developed enough energy reserves to handle the transplant shock and continue growing vigorously outdoors.
Many gardeners make the mistake of transplanting too early, often because they're eager to see their garden come to life. However, underdeveloped seedlings struggle to establish roots in outdoor conditions, leading to stunted growth or even death.
On the other hand, waiting too long can result in root-bound seedlings that are difficult to transplant without damaging the root system. Finding that sweet spot is key to a successful transplant.
To assess your pepper seedlings, focus on three main criteria: leaf count, stem thickness, and overall plant height. A healthy seedling should be about 6-8 inches tall, with a stem that's roughly 1/8 inch in diameter.
The leaves should be a vibrant green and fully unfurled, indicating the seedling has completed its early growth phase and is ready for the next stage.
One common mistake gardeners make is confusing seed leaves (cotyledons) with true leaves. Seed leaves are the first pair of leaves that appear and are typically smaller and rounder.
True leaves are the subsequent leaves that develop and look more like the mature plant's foliage. Counting only true leaves ensures you're accurately assessing your seedling's readiness.
Another critical factor is the stem strength. A weak, leggy stem indicates the seedling hasn't received enough light, which can lead to poor establishment after transplanting. If your seedlings are stretching toward the light source, it's a sign they need more bright, indirect light or a grow light.
Aim for at least 12-16 hours of light per day during the seedling stage to promote sturdy growth.
The root system is another often-overlooked aspect of seedling readiness. Gently remove the seedling from its pot to check for a healthy network of white roots.
If the roots are circling the bottom or top of the pot, it's a sign the seedling is root-bound and may need to be transplanted into a larger container for a few more weeks before going outdoors. Healthy roots should fill the pot evenly without being overly crowded.
Timing your transplant also depends on your local climate. In warmer regions, you can transplant earlier, while cooler climates may require waiting until after the last frost date and ensuring soil temperatures are at least 60°F (15°C).
Always check your frost-free dates and monitor weather forecasts to avoid transplanting too early when a late frost could damage your seedlings.
When you're ready to transplant, choose a cloudy day or late afternoon to minimize stress on the seedlings. This reduces the risk of transplant shock and gives them time to acclimate to outdoor conditions.
Water the seedlings thoroughly the day before transplanting to ensure they're hydrated and ready for the move.
After transplanting, focus on consistent watering and providing shade during the first week to help the seedlings adjust. Mulching around the base of the plant will help retain moisture and regulate soil temperature, promoting healthy root growth.
With the right size and care, your pepper seedlings will thrive and produce a bountiful harvest.
Signs your pepper seedlings are ready (or not) for transplanting
Transplanting pepper seedlings at the wrong stage can stunt growth or invite disease—so beyond just counting leaves, I check for root development, stem firmness, and leaf health to ensure they're truly ready.
A seedling with 4-6 true leaves and a thickened stem is a good start, but these aren't the only signs to watch. Underdeveloped seedlings often show subtle clues like yellowing leaves or weak stems that can lead to transplant shock.
One of the biggest mistakes I see is rushing seedlings outdoors because they've hit a certain height. A 6-inch-tall pepper seedling might look sturdy, but if its roots are still tangled in a root-bound mass or its leaves are pale and sparse, it’s not ready.
Transplanting too early can cause stunted growth or even death, while waiting too long risks overcrowded roots or leggy stems that flop in the garden. The key is balancing size, strength, and environmental conditions.
Pepper seedlings need at least 4-6 true leaves and a stem diameter of 3-4mm before transplanting. If your seedlings are smaller than 4 inches tall or have thin, weak stems, delay transplanting. Root-bound seedlings (roots circling the pot) or those with yellowing lower leaves also signal they’re not ready. Transplanting too early risks transplant shock, while waiting too long can lead to overcrowded growth.
💡 Pro Tip: Gently tug on the seedling—if it slips out of the pot easily, roots are likely underdeveloped. Hold off until you can see healthy white roots at the pot’s edges.
Healthy pepper seedlings should have deep green leaves with no signs of yellowing or wilting. I always check the lowest leaves first—if they’re turning yellow or brown, it’s a sign of nutrient deficiency or overwatering.
The stem should feel firm when you gently squeeze it; if it’s soft or hollow, the seedling isn’t strong enough for transplanting. Another red flag is purple or red stems, which can indicate phosphorus deficiency or cold stress.
Environmental factors also play a huge role in transplant readiness. If nighttime temperatures are still dipping below 50°F (10°C), your seedlings need more time indoors. I wait until the soil temperature reaches at least 60°F (15°C)—pepper plants are heat-loving and won’t thrive in cooler conditions.
Before transplanting, I harden off my seedlings by gradually exposing them to outdoor conditions over 7-10 days. This helps them adjust to wind, sun, and temperature fluctuations.
If your seedlings are underdeveloped—say, they’ve only got 2-3 true leaves and thin stems—don’t panic. You can prune the top set of leaves to encourage thicker stem growth and stronger roots.
Reduce watering slightly to prevent overly leggy growth, and move them to a sunnier spot to boost photosynthesis. For root-bound seedlings, gently tease apart the roots before transplanting to encourage outward growth.
Finally, the right time to transplant is when your seedlings have 4-6 true leaves, a thickened stem, and healthy roots filling the pot. Choose a cloudy day to reduce stress, and transplant in the late afternoon to give seedlings time to recover before nightfall.
Water deeply after transplanting and mulch around the base to retain moisture and regulate soil temperature. With these signs in mind, your pepper seedlings will be ready to thrive in the garden!