
Propagation
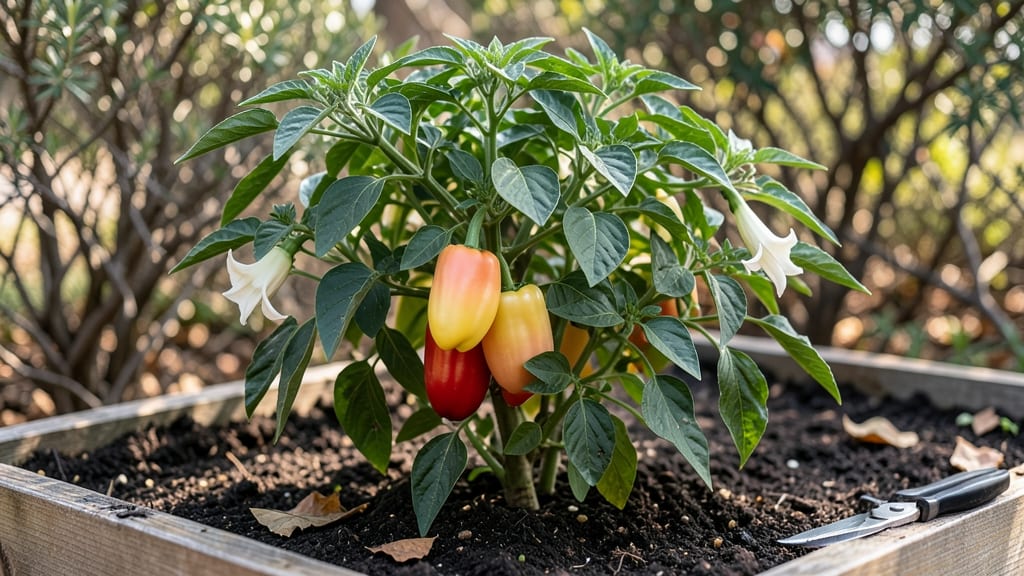
Peruvian pearl pepper seeds sprout faster when you break their tough outer shell first. ✨ I’ve watched these tiny seeds go from stubborn to seedlings in just 5-7 days—instead of the usual two weeks—by giving them a quick soak and gentle nick.
The secret isn’t complicated: it’s about mimicking nature’s way of softening them before planting. These peppers love warmth and moisture, so keep your soil between 75-85°F and consistently damp (not soggy).
A clear plastic dome or humidity tray speeds up germination, and I’ve found that planting them ¼-inch deep gives them just enough support to push through. Patience is key here—those first leaves will appear faster than you think.
Once they sprout, you’ll notice thick, glossy leaves that tell you they’re thriving. These plants grow into sturdy bushes that produce hundreds of tiny, round peppers—perfect for pickling, drying, or snacking straight off the vine. The key to a bountiful harvest?
Consistent watering and a little extra sunlight once they’re established. For experienced gardeners, try direct sowing in warm soil after the last frost. Beginners should start indoors in late winter for a head start. Either way, these peppers reward your effort with a harvest that lasts all summer long.
📚 In This Guide
- What you need
- Instructions
- Tips and common mistakes
- Wrapping up and next steps
What you need
- ● Peruvian Pearl Pepper Seeds – 5–10 seeds (start small to test germination rates!)
- ● Seed Starting Mix – 2–3 cups of lightweight, well-draining potting soil (avoid garden soil—it’s too dense!)
- ● Small Containers – 2–4 biodegradable pots (2–3 inches deep) or a seed tray with drainage holes
- ● Spray Bottle – For gentle watering (avoid soaking the soil)
- ● Plastic Wrap or Humidity Dome – To create a mini greenhouse effect
- ● Grow Lights or Sunny Windowsill – 6–8 hours of warmth (70–85°F is ideal!)
- ○ Heat Mat (Optional but Helpful) – Speeds up germination for fussy seeds
- ● Seedling Heat Mat – Keeps soil warm for faster sprouts
- ● Fertilizer – Balanced, water-soluble (like 5-5-5) for post-germination boost
- ● pH Test Kit – Ensures soil pH is 6.0–6.8 (peppers love slightly acidic soil!)
- ● Label Markers – To track planting dates and varieties
- ● Tweezers – For delicate seed handling
Step-by-step instructions for germinating Peruvian pearl pepper seeds
Here's how I get these finicky seeds sprouting reliably—no waiting months for stubborn germination.
🌱 Step 1: Pre-Treat Seeds to Break Dormancy
Peruvian pearl peppers have tough outer shells that slow germination. I soak the seeds in warm water for 24 hours to soften them—this mimics natural rain cycles and speeds things up dramatically. Use a small bowl or jar and cover the seeds completely. They'll sink to the bottom, but don't worry if a few float.
After soaking, drain the water and wrap the seeds in a damp paper towel. Fold the towel so the seeds are snug but not crushed, then place it in a sealed plastic bag. This keeps moisture high while allowing airflow. Store the bag in a warm spot—75-80°F works best—until you see tiny cracks in the seed coats, usually within 2-3 days.
💧 Step 2: Prepare Germination Trays
Fill small seedling trays or pots with moistened seed-starting mix—I use a blend that's light and airy, nothing heavy. Press the soil down gently until it's firm but still crumbly. The goal is to create a surface where seeds can get good root purchase without being buried too deep.
Make shallow holes just ¼ inch deep—any deeper and the seedlings will struggle to push through. I use a toothpick to poke each hole, then drop one pre-treated seed into each spot. Cover them lightly with a sprinkle of soil, just enough to hide the seeds but not smother them. Water gently with a spray bottle until the surface looks damp but not wet.
☀️ Step 3: Create Ideal Germination Conditions
Place the trays under a grow light or in a warm, bright spot—70-75°F is perfect. I use a heat mat set to 80°F for the first few days, then reduce it once sprouts appear. Keep the soil consistently moist but never soggy—you'll know it's right when the surface stays slightly damp but doesn't glisten.
Germination usually happens within 7-14 days, but don't be surprised if some take longer. The key is patience and consistency. Once you see the first tiny green shoots, remove the heat mat and move the trays to a slightly cooler spot—65-70°F—to prevent leggy growth. You'll notice the seedlings thicken and develop stronger stems within a few days.
🌿 Step 4: Thin and Transplant Seedlings
When seedlings reach 2 inches tall and have their first true leaves, it's time to thin. Use small scissors to snip the weaker seedlings at soil level, leaving the strongest one in each pot. I always keep a few extra just in case—sometimes the strongest-looking one turns out to be a weakling.
Transplant the remaining seedlings into 3-inch pots filled with fresh potting mix. Handle them gently by the leaves, not the stems, to avoid damaging the roots. Water lightly after transplanting, then place them under bright light but out of direct sun for a week to help them adjust. You'll see new growth within 5-7 days, signaling they've taken root successfully.
Tips & tricks for germinating Peruvian pearl pepper seeds
These little tricks will help you bypass the months-long wait and get those stubborn seeds sprouting in record time.
The Soak Test: After your 24-hour soak, check for floaters—those seeds are likely nonviable. Discard them and focus only on the seeds that sank. I've found this simple test saves me from planting seeds that would never germinate, cutting my trial-and-error time in half.
Temperature Matters: That 75-80°F range during pre-treatment isn't just a suggestion—it's critical. If your home runs cooler, place the bag on top of your fridge (not inside) where it'll stay consistently warm. The tiny cracks you're waiting for won't appear if the seeds are chilled. I've seen germination times double when temperatures dip below 70°F during this stage.
Lighting Strategy: While grow lights are ideal, a sunny windowsill can work too—just rotate your trays daily so all seedlings get equal exposure. South-facing windows are best, but west-facing works in a pinch. The key is avoiding "leggy" seedlings that stretch toward one light source. I keep mine 2-3 inches from the light to prevent this common problem.
Thinning Hack: When it's time to thin those 2-inch seedlings, use a clean pair of scissors to snip at soil level rather than pulling. This prevents disturbing the roots of your keepers. I always save the cuttings in a small container of water for a day—they'll often regrow roots and become bonus plants!
Pro Tips for Peruvian Pearl Pepper Seeds
- These little tricks will help you bypass the months-long wait and get those stubborn seeds sprouting in record time.
- The Soak Test: After your 24-hour soak, check for floaters—those seeds are likely nonviable. Discard them and focus o...
- Temperature Matters: That 75-80°F range during pre-treatment isn't just a suggestion—it's critical. If your home runs...
Frequently asked questions
Got questions about growing Peruvian Pearl Pepper seeds? You’re not alone!
Here are answers to the most common queries to help you avoid pitfalls and maximize your success with these fiery gems.
How long does it take for Peruvian Pearl Pepper seeds to germinate?
Germination typically takes 10–21 days in warm, moist conditions (70–85°F). For faster sprouts, soak seeds in warm water for 24 hours before planting or use a heat mat. Patience is key—some stubborn seeds may take up to 30 days!
Do Peruvian Pearl Pepper seeds need light to germinate?
No! Seeds germinate best in darkness—cover them with ¼–½ inch of soil or a damp paper towel. Once sprouts emerge (1–2 inches tall), move them to bright, indirect light to prevent leggy seedlings.
Can I grow Peruvian Pearl Peppers from store-bought dried peppers?
Yes, but freshness matters. Save seeds from fully ripe (red) peppers—dry them completely to prevent mold. Store-bought peppers are often treated to inhibit germination, so success isn’t guaranteed. If you try, use organic or home-grown peppers for best results.
Why aren’t my Peruvian Pearl Pepper seeds sprouting?
Check these trouble spots:
- Cold soil: Use a heat mat or bottom heat (75–85°F).
- Dry conditions: Keep soil consistently moist (not soggy).
- Old seeds: Peruvian Pearl seeds lose viability after 1–2 years. Test viability by soaking a few in water—sinkers are viable!
- Low oxygen: Avoid over-potting; seeds need airflow.
Can I grow Peruvian Pearl Peppers indoors?
Use a south-facing window or grow lights (12–14 hours/day). Choose a 5-gallon pot minimum—these peppers need space to thrive. Prune regularly to encourage bushier growth, and fertilize lightly (half-strength) every 4–6 weeks.
Wrapping up and next steps
Growing Peruvian pearl pepper seeds can be a rewarding journey, especially when you unlock the secrets to faster, healthier sprouts! With the right materials, patience, and a few pro tips, you’ll soon be enjoying vibrant plants that thrive in your garden or kitchen.
Whether you’re a seasoned gardener or just starting out, these techniques make the process simple and fun.
Ready to take the next step? Start with just a few seeds—experiment with the methods shared here, and soon you’ll be harvesting your own spicy, flavorful peppers. Happy growing! 🌱✨